
Some years ago, while visiting London with my sister, I encountered the lovely Hummingbird Bakery on Portobello Road.

I instantly fell in love with this place. The lined up cupcakes, sorted by color; the simple but elegant packaging and, of course, the amazingly good-looking cakes and sweets.

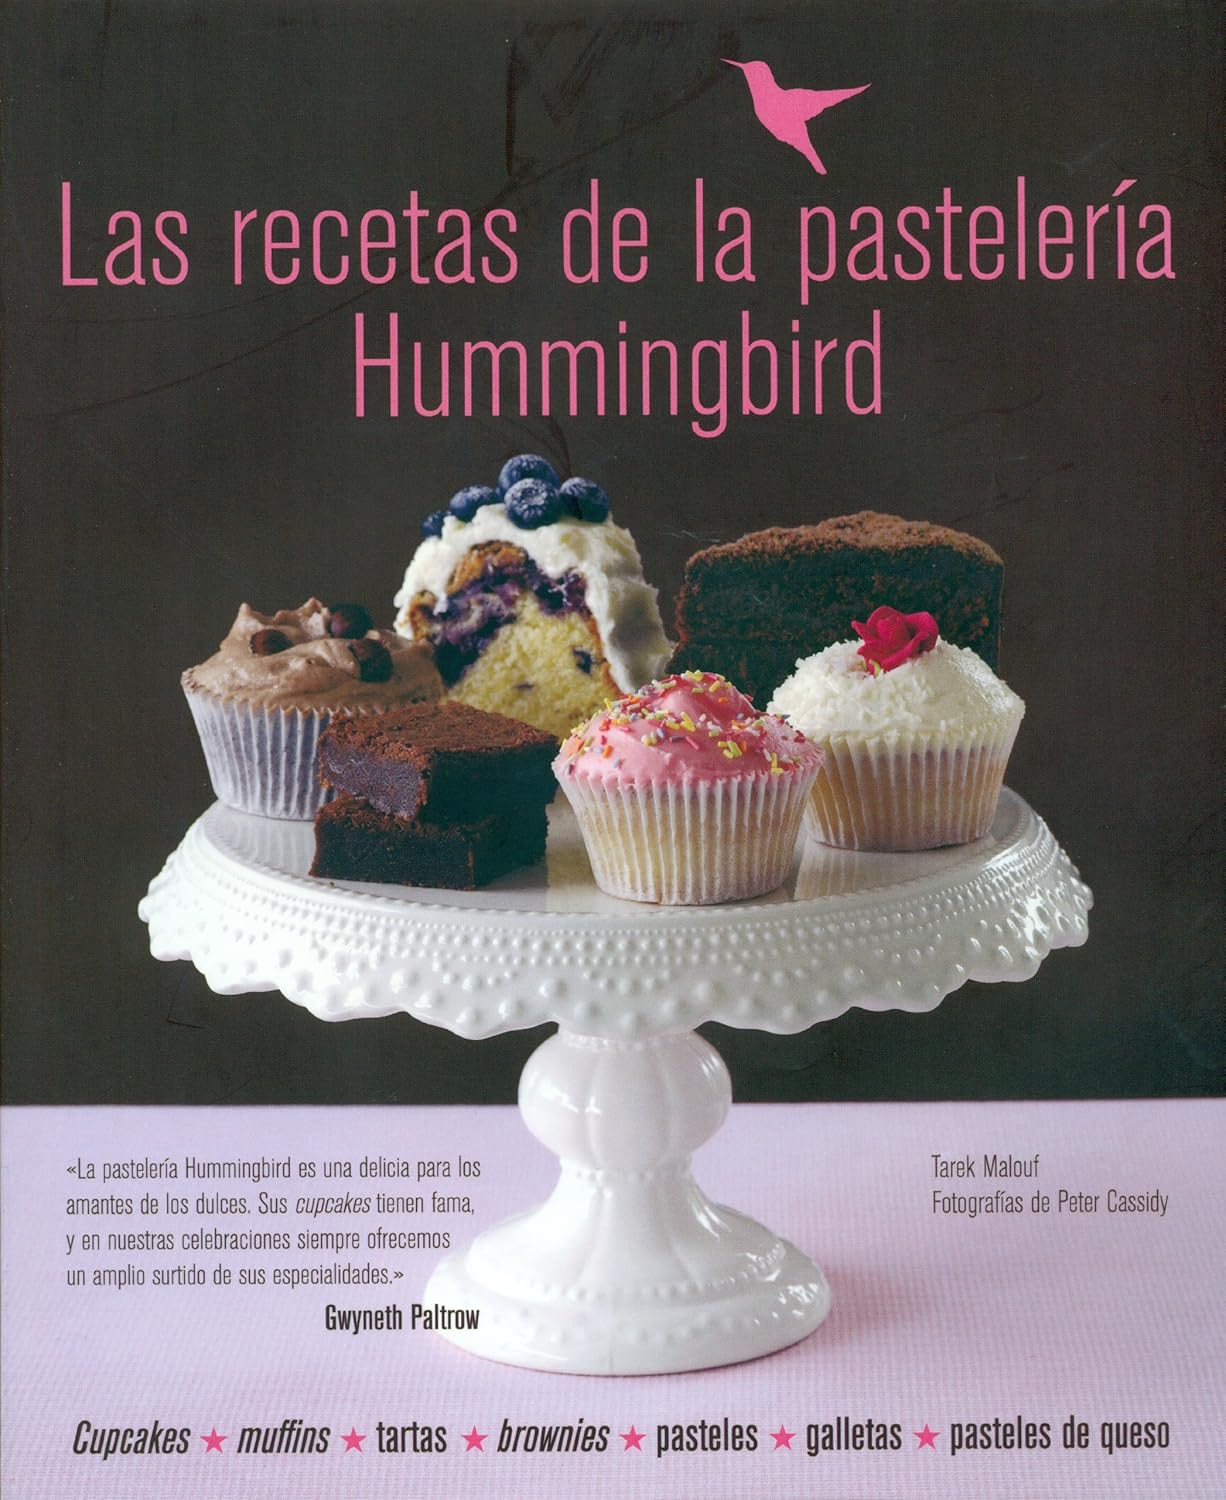
You have possibly heard about them. They have published various recipe books and the cause of this post is that my wonderful friends gave one of them to me as a birthday gift!
I obviously needed to make something. So, when browsing through its pages I found this Banana Bread recipe, I couldn't resist.

Delicious.
Banana
Bread from the Hummingbird
Bakery
Ingredients
- 270g brown sugar
- 2 eggs
- 200g peeled bananas, crushed
- 280g flour
- 1 tsp baking powder
- 1 tsp baking soda
- 1 tsp cinnamon
- 1 tsp ginger
- 140g butter (melted)
Directions
- Pre-heat the oven at 170ºC (338ºF).
- Prepare the cake pan by spreading a little bit of butter inside the pan and sprinkle it with flour. To get rid of the excess, bang the pan against the table.
- Beat the eggs and sugar together with an electrical beater and add the bananas without stopping beating.

- Add the dry ingredients (flour, baking soda and powder, cinnamon and ginger) and mix. Add the melted butter and mix until well blended. (Make sure your bowl is large enough, I had to change bowls in the middle of the recipe because it didn't fit all in!).
- Pour the dough in the pan and smooth it.

- Bake approximately for an hour (until a toothpick inserted in the center comes out clean).
- Let the cake sit for a while before cooling in a metal rack.
Easy, right? You can serve it just like this or put some cream cheese frosting, it will be great anyway.

Great for breakfast!

I hope you liked it, here is the pdf with the recipe!
Thanks for reading!
Anna
No comments:
Post a Comment